This post is revamped from all the way in 2011. I made trivets having just moved into a school dorm apartment which had a kitchen, so it appears history is repeating itself since I’ve made some trivets to go with my new kitchen in my first real-person apartment. I did the curtains first, and built/painted furniture to bring down some of the colors from the curtains. When all was said and done I still had some curtain fabric left over, and some fabric from the cushions on the chairs, so I did now what I did then and made a set of trivets for my new kitchen.
This project was originally inspired by a trivet we had at home as a child. My mom had gotten it from a friend a long time ago, and I reverse engineered the process to figure out how to do it. Since then I’ve done it many times, and so I’m revisiting my tutorial to share the technique, because it’s fun and easy, and really cute.
Because bottle caps are so easy to gather and recycle, the effective cost of this project comes down to the fabric- which I already had because of the curtains. Basically what you need are a sewing kit, so a needle, thread, and something to cut the thread with, and the bottle caps and fabric.
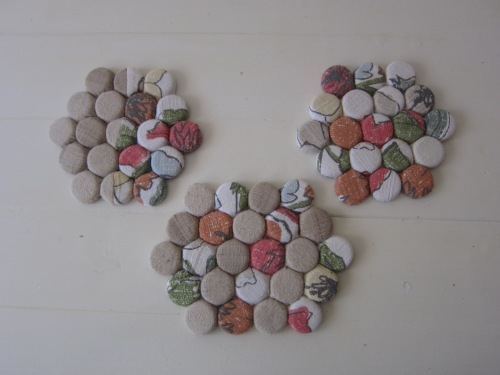
You’ll be essentially covering the bottle caps in fabric, creating little fabric “yo-yo’s” which you’ll then sew together. For a simple circle trivet you’ll need 19 bottle caps. More if you want to make it longer, or a larger size.
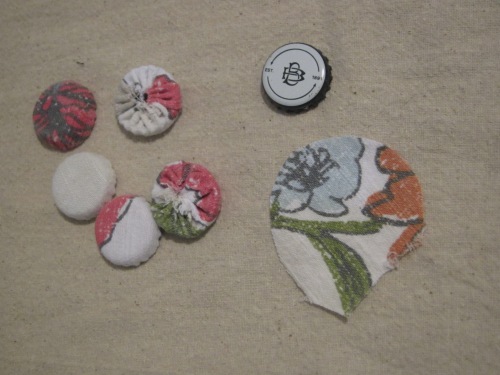
Cut out a nice circle of fabric, with maybe a 1″ larger diameter than a bottle cap.
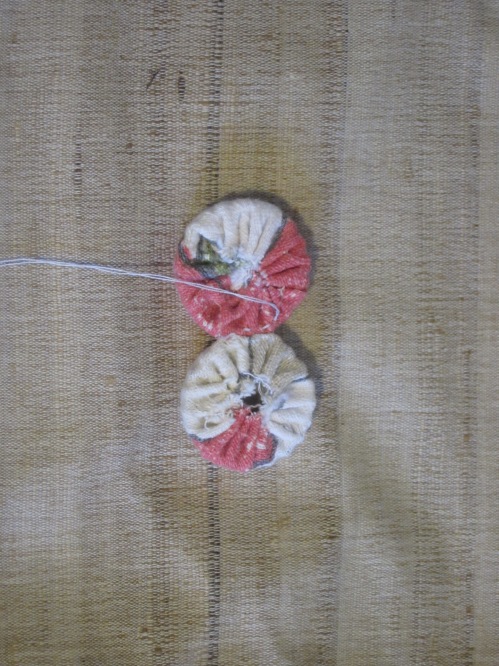
Your circle does not have to be perfect. Almost none of mine were. It doesn’t matter anyway, because (in a technique similar to these Fabric Yo-yos from About.com) you’ll start by stitching loosely around the edge in a circle.
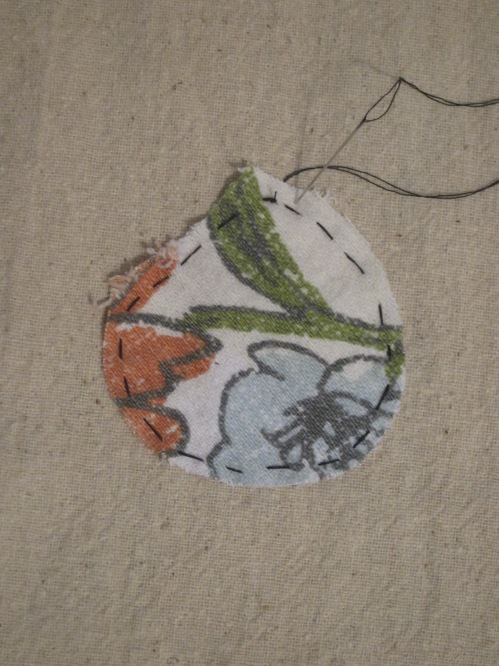
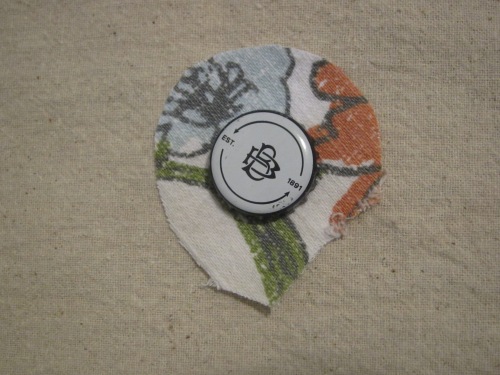
Flip your fabric over, and put your bottle cap on it, top down. Start to pull on the thread, cinching in the stitches.
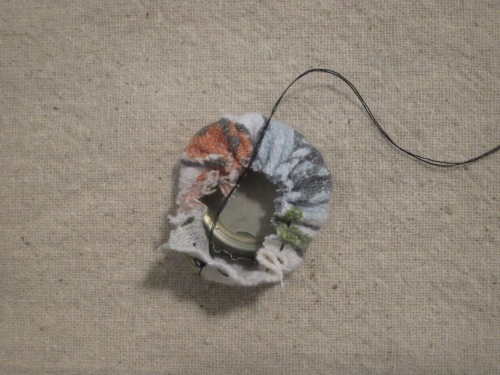
Pull the thread tight, and if you feel the need to, stitch a second round in the bottle cap, to secure the “yo-yo”. Here’s a finished one.
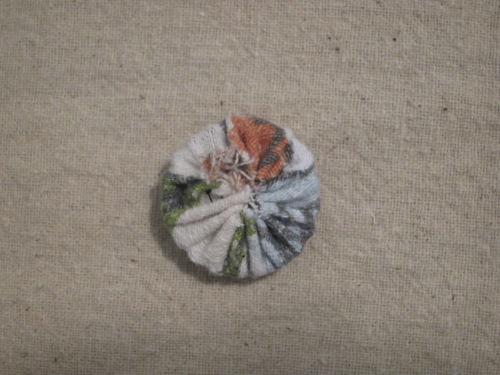
The front of your bottle cap should be covered in one smooth, nice looking layer of fabric.
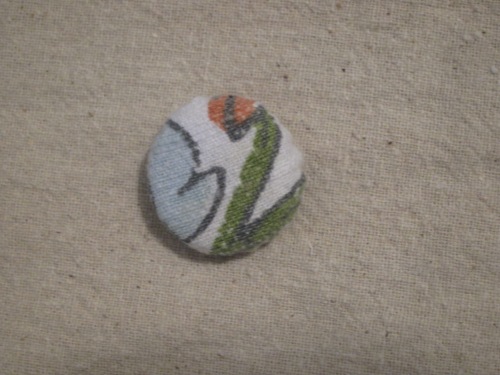
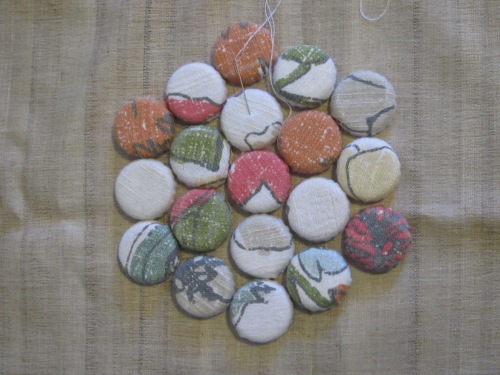
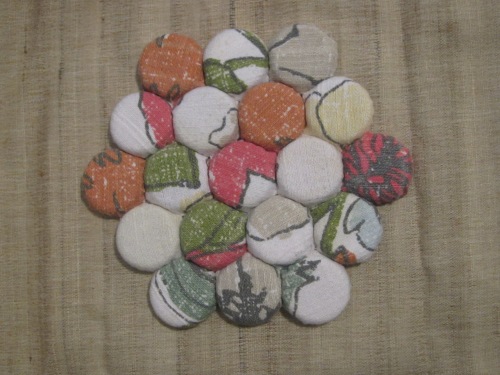
Wash rinse repeat however many times you need to until you have enough fabric covered bottle caps for the trivet you want. You may decide to lay them out before you start stitching to make sure you like the final result. I usually do.
Start sewing together your bottle caps. I use a simple running stitch, adjusting tension wherever I need to to make the fabric lay properly. Sorry I didn’t stitch this in black so you could see it better- I didn’t want to have to unpick my stitches and re-do the whole project later.
The stitching process can be a little bit tedious but it is really rewarding to watch the pieces build together into something recognizable.
My one piece of real advice is to make sure you don’t miss any seams- think of each piece as if it were a hexagon, and make sure that even the corner pieces have at least three seams connecting them to each other. This will give you a really solid trivet. The back should look like this.
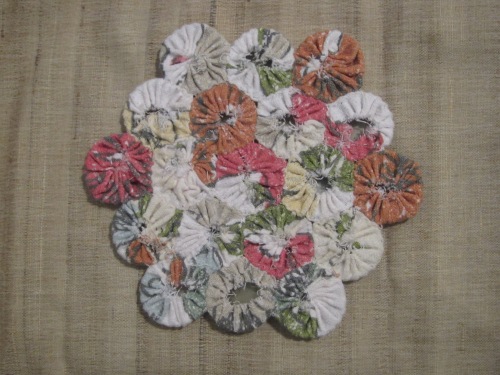
The finished trivet from the top will look like this.
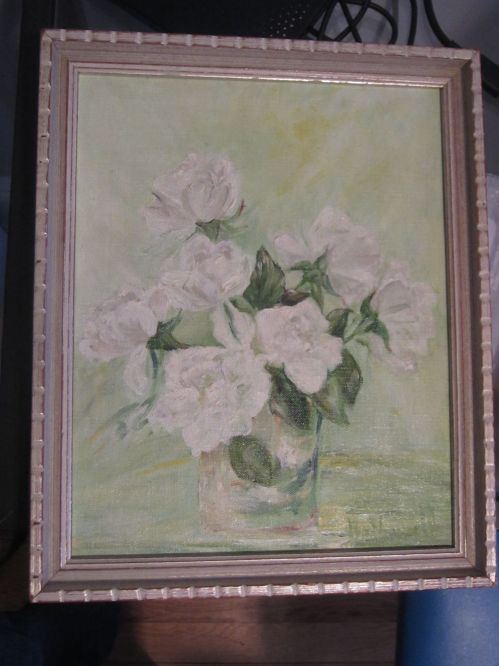
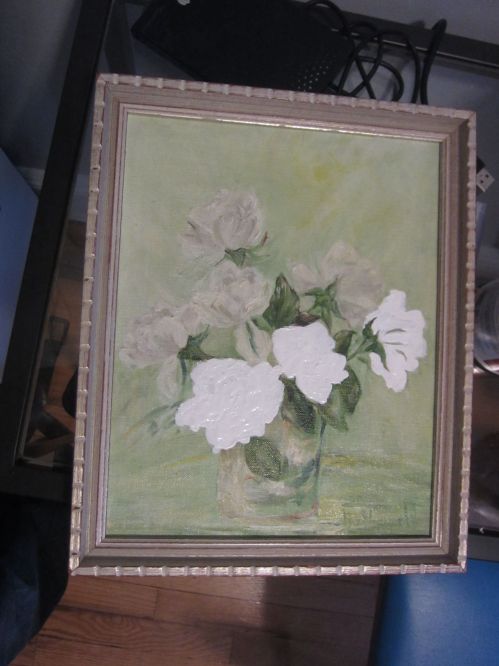
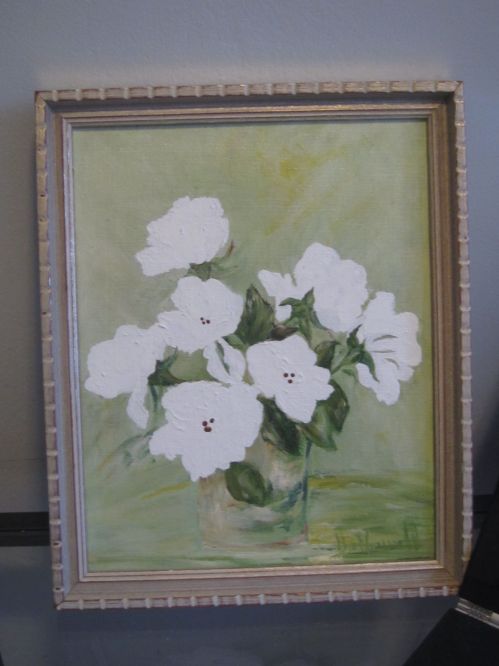
Of course I am nothing if not thorough, so I made a set of three with different patterns. I think the striped one is my favorite!