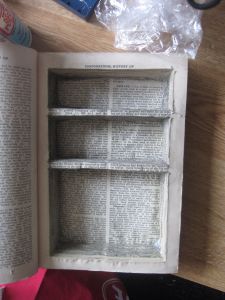
Hi Everyone! I’ve got a friend’s birthday this weekend, and I needed to come up with a kick-ass gift for him, so I grabbed a book I’d bought at Goodwill a while ago for a different project and created a place for him to hide valuables. Here’s how I did it.
Guess which of these books is hollow!
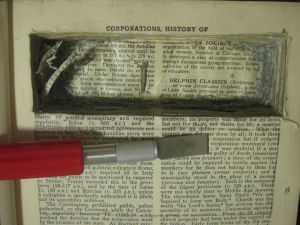
So the first step, and this is important, is to get a good book. The book should be at least two inches thick, and hardbound, so that it won’t show when you hollow it out. You’ll also want a good set of razor blades (I used an exacto set I’ve had for a while but I’ve also seen this done with a box cutter), some glue (I used some extra Modpodge I’ve had for a while, but you could water down Elmer’s or another water based white glue- just make sure it’s thin enough to soak into the pages a little bit), a paintbrush and some cling wrap. The cling wrap will protect your cover and title pages.
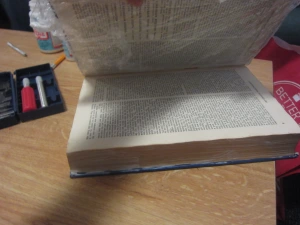
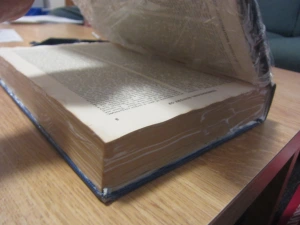
Separate your cover and the cover pages you want to save and wrap them in cling wrap. Make sure you’re covering all the edges, because the next step is to paint the edges of the rest of the book with glue. I did one coat, let it dry for about an hour weighted, and then coated it again.
It’s important to weight it down because the pages are naturally going to want to separate and fluff up in order to accommodate the glue.
I used my complete works of Shakespeare and a couple other heavy books I had lying around to weight it through the whole process.
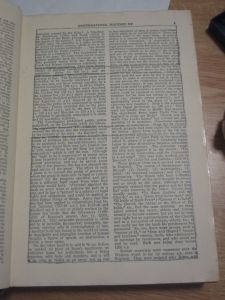
Next you’re going to want to sketch out the borders of your hole. Depending on what you’re hiding, you may want to make it a specific shape- I’ve seen props which are meant to hold a gun, for instance.
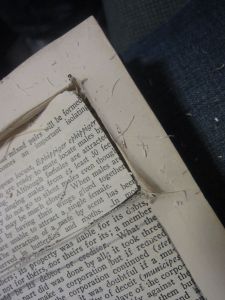
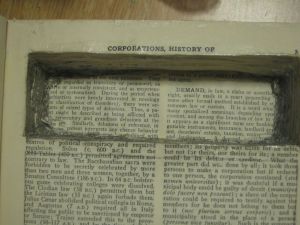
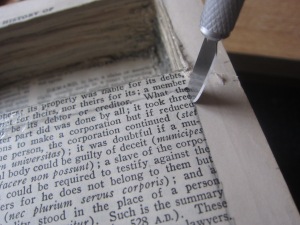
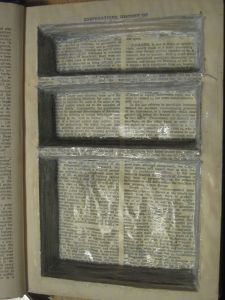
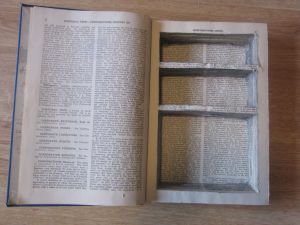
Cut your pages out! This took me a lot longer than I thought it would, and a one-evening project turned into a multiple day project as I tried to make three compartments. It all works out though, just take your time.
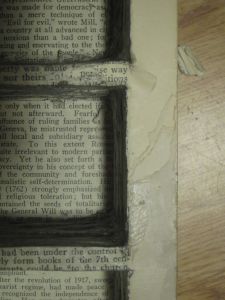
This is probably the right moment to talk about corners. I had a lot of problems getting the corners clean and sharp. The first compartment I made had a lot of sloping on the walls and the corners weren’t clean at all.
I was able to go back with the chisel blade and fix it up some, but not as much as I would have liked. My best advice is to just pay special attention to the corners and the sides as you cut. If you think the sides are uneven or sloping inward, the best time to fix them is immediately. Eventually, going back to fix it won’t work as well as you’d like it to.
I basically cut the corners first every time I made a cut or took out a few pages. I found that this really helped.
Coat your cut outs in glue! At this point you’ll want to make sure that you at least have the cling wrap between your cover pages and the rest of the book, and you’ll *really* want to weight it. I actually glued each compartment as I went in order to keep them sturdy while I cut the next hole.
After your glue is all dry, go back and coat every glued surface again. Weighting probably isn’t so important at this point, but I did it anyway. Let it all dry for a while. This is the last call for glue.
After that point, I cut off the top layer of the page where it showed in order to have a nice clean page at the top instead of something covered in icky glue. I ended up taking off three pages ultimately, but it all worked out.
As you can see, it’s not perfect but it’s a totally cool gift for a friend regardless! Especially because I had the book already, I had the glue and the cling wrap and all the other supplies, it was super cheap, but if you needed any of these things, or even all of them, the total cost would still be under 10$.



I’m going to try this, it looks like fun. I’m sure the person you made this for will really like this.
Hello! A trick on mastering your corners….when you are ready to cut the pages use a drill and a small ish size drill bit and drill a hole where each corner will be. Just make sure you drill straight down and carefull on how far down you drill. measure how deep you want the compartment and mark the drill bit with perm. Marker so u don’t go too far. Corner Problem solved! Also this makes it easier to cut into the pages…giving u a good place to start each cut!
Great tutorial! But may I suggest not using an exacto blade or box cutter.. but try a dremel rotary tool! It cuts majorly straight and quick!
You can perfectly cut it is 6 mind or less!
Yes! Definitely a dremel is a great tool for this. It’s easy to let it get away from you and end up with a less-than-perfect line, and it might not make the most sense if you don’t already own one, but there are many ways to skin a cat and that’s a great idea.